We all can agree that the easiest way to change any room decor is by changing the pillows. Fortunately, they’re super easy to make. I literally just make covers for existing pillows. Super cheap. Super simple. 
I picked up this navy and white fabric at Joanne’s. I found these Pillow covers at Hobby Lobby. I do realize my DIY limits. Mixing homemade with store bought helps hide the fact that I’m not the best seamstress in the world.
Products used:
1 yard decorative fabric
1.5 yards plain “cheap” fabric
6 yards Trim- if using
Iron
Pins
Sewing machine
All purpose thread in matching color
* fabric amount made 2 24″ square pillows and 2 12×22″ lumbar pillows
DIY:
Start by cutting everything out. The pillows I made were 24×24. So, I’ll use that for reference. I prefer to cut my fabric the same size as the pillow- not adding any length for seam allowance. I think it makes for a better looking pillow- nice and full!
Cut out 1 24×24″ piece of your patterned fabric.
Cut 2 pieces of your plain fabric to 14×24. These will make your envelope on the back for you to slide your pillows in to. * if making a different size pillow, half the size of your pillow and add 2 inches to get your needed size for these pieces
Take your back pieces (plain fabric) and fold over 1/4 – 1/2 inch on one of the sides that is 24″ long. Iron that down nice and flat. This will make a finished edge for your envelope. 
I like to use a little fabric glue to make sure it doesn’t come unfolded. You could stitch this, but I’m not that talented. So, I glue.
I added trim on these pillows. Honestly, this type of trim is a pain and I’ll never use it again. It looks fancy though. So, I guess it’s worth it? I used a flat trim on the edge of the lumbar pillow. Much easier to work with… this round situation is not fun. I’ll show you how to attach though!
 You’ll want to pin it down all the way around. Match your raw edge to the edge of the trim, keeping the “fancy” part of the trim towards the middle of the pillow. This will allow it to be where you want it when you finish your pillow.
  Once your all pinned, throw that sucker on the sewing machine and give it a quick stitch around. This keeps it from moving around when you assemble your pillow. Careful around the corners! But don’t worry if you don’t get them right, we have fabric glue to fix everything.
  Now its time to attach the back panels. Pin your first piece on with the right sides (the side you want to see when the pillow is finished) facing each other. You’ll place the second panel on and line it up with the edges. They are meant to overlap.
Time to stitch around the entire perimeter! Once you’re done, flip it inside out and stuff with a pillow!

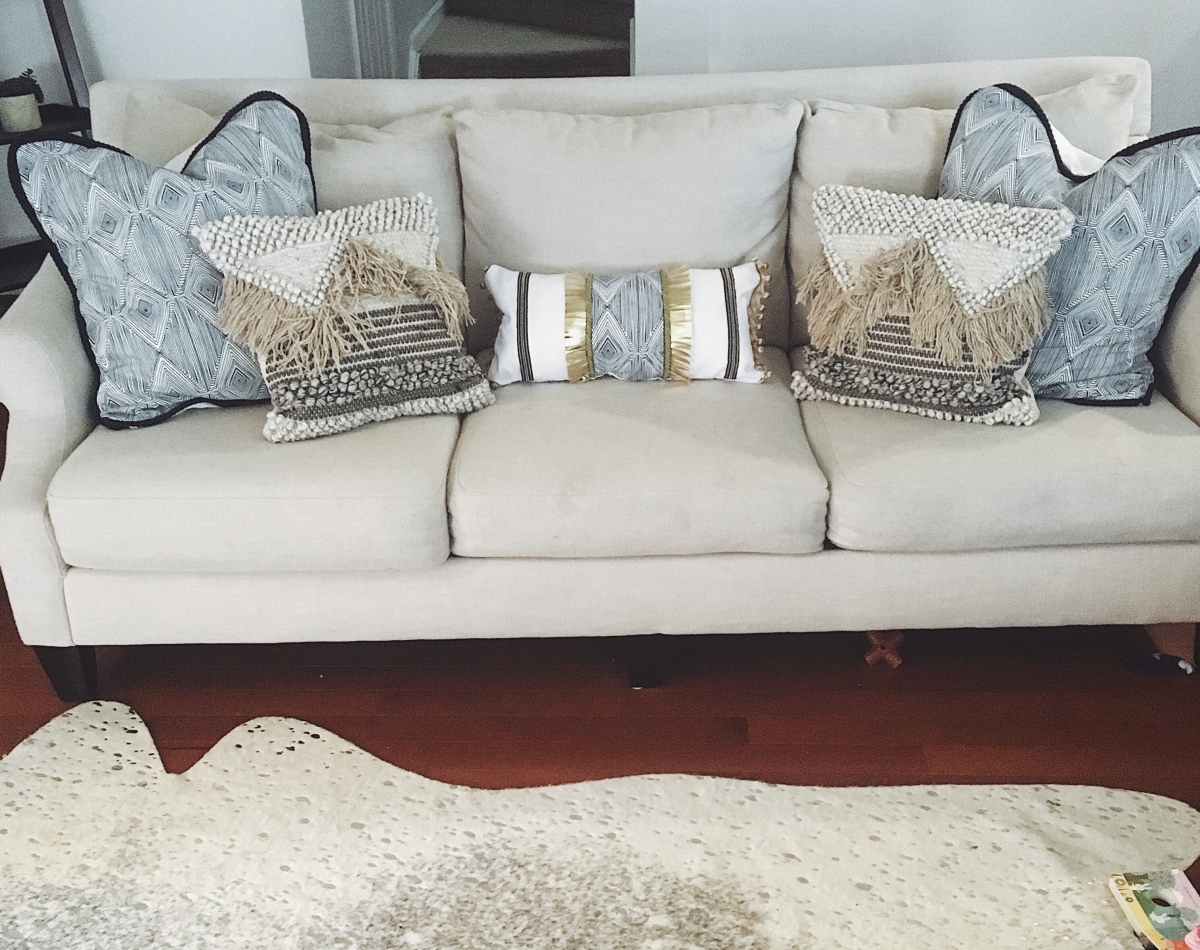
Project complete!

Cute! Love that fabric
LikeLike